
Strings & Tuning

Updated: Aug 29
Prior to the fall of the imperial system, pipas were smaller and more subtle sounding, with silk strings being most commonly used. Though rare, period instruments can still be heard with traditional silk strings, that lend a more intimate but rich sound.
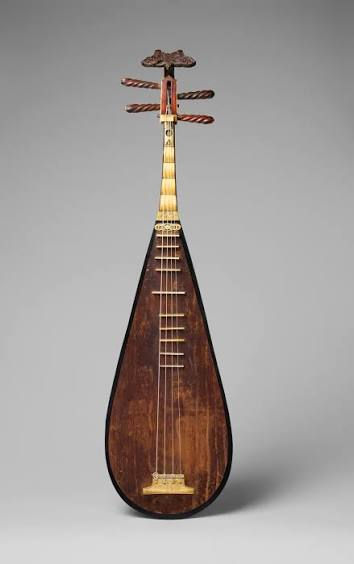
After the fall of the Qing dynasty, the pipa began to modernize during the 1950’s and 60’s. The body was modestly enlarged and more frets were added for chromatic ability, instead of being limited to a pentatonic scale. With the modernizations, silk strings were no longer able to project well, and steel strings were then developed to allow the modern pipa to project more boldly.
Strings
Unlike a guitar or a violin, the strings on a pipa are both very stiff and very flexible. Comparatively speaking for stringed instruments, they suspend very high above the frets, requiring great strength to play as it requires a significant amount of pressure to both press the strings and hold them in place as they have a tendency to wiggle and slip.
This can change depending on the gauge of the strings used, and the material. Strings with a heavier gauge, meaning thicker, may produce a richer sound, but depending on how thick, will cause the strings to wiggle less. This could affect the players ability to perform certain repertoire as the thicker strings will make it harder to perform a variety of string bending techniques.
On the opposite end, light, thinner gauged strings will have a much brighter, reverberant sound but wiggle around much more, making it harder to perform repertoire that uses all four fingers of the left hand at once.
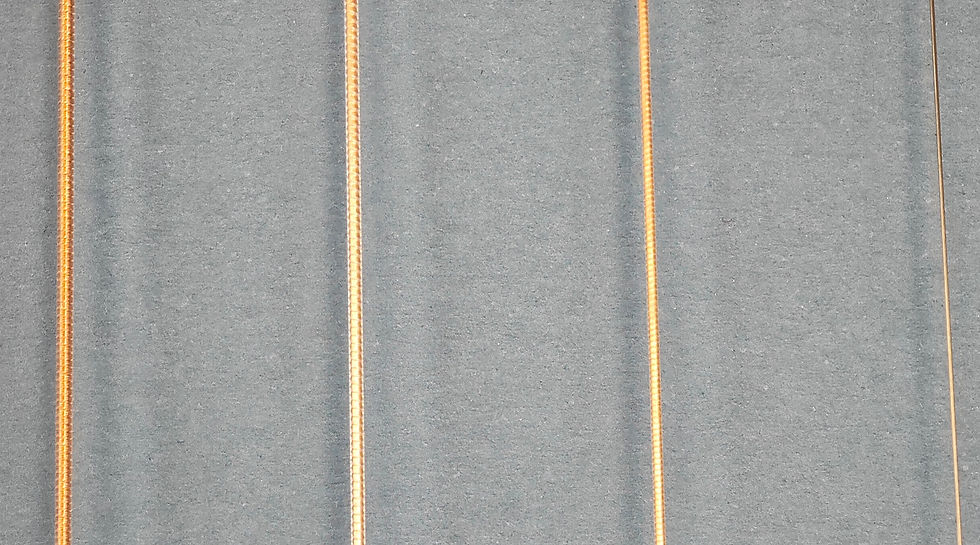
In any case, the strings may be coated in something to help produce a specific sound, but not all the strings may be coated or coated the same way, making for a potentially uneven sound when string crossing, meaning, playing a passage between strings instead of on just one string. Therefore, strings are often selected based on the preferences of repertoire of the performer, as well as what would sound best for a specific pipa. Sometimes even, it is best to combine two different string sets to best suit the sound of the pipa.
Stringing and Tuning
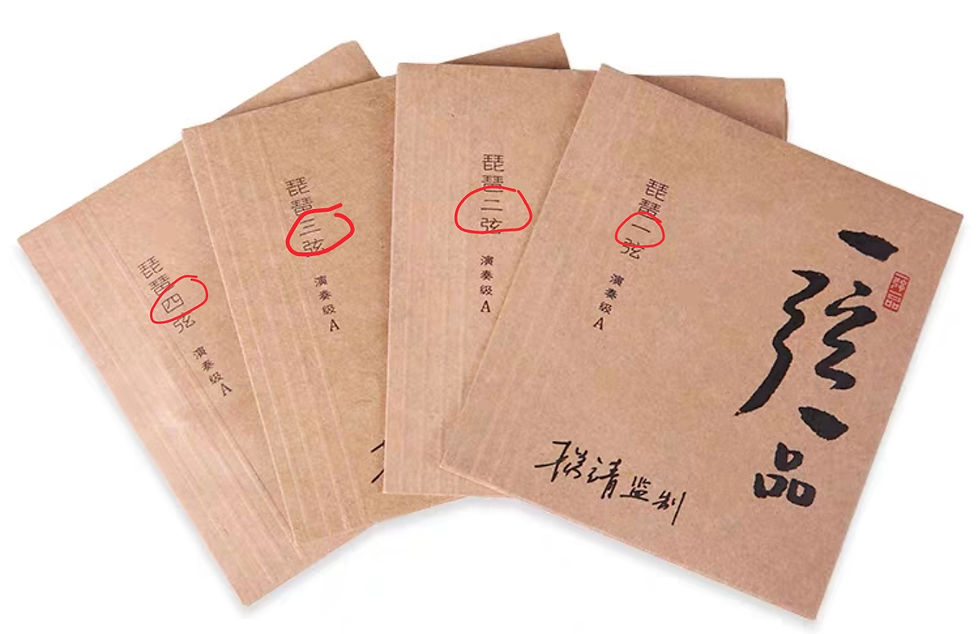
The pipa is strung from the tail piece to the headstock into the tuning pegs that are twisted in place. Strings will usually come in a package of four, although individual strings can be bought. Each will be individually packaged and labelled with the string number. The bottom, thickest string, is labelled as four (四), continuing up to the top, thinnest string, labelled as one(一).
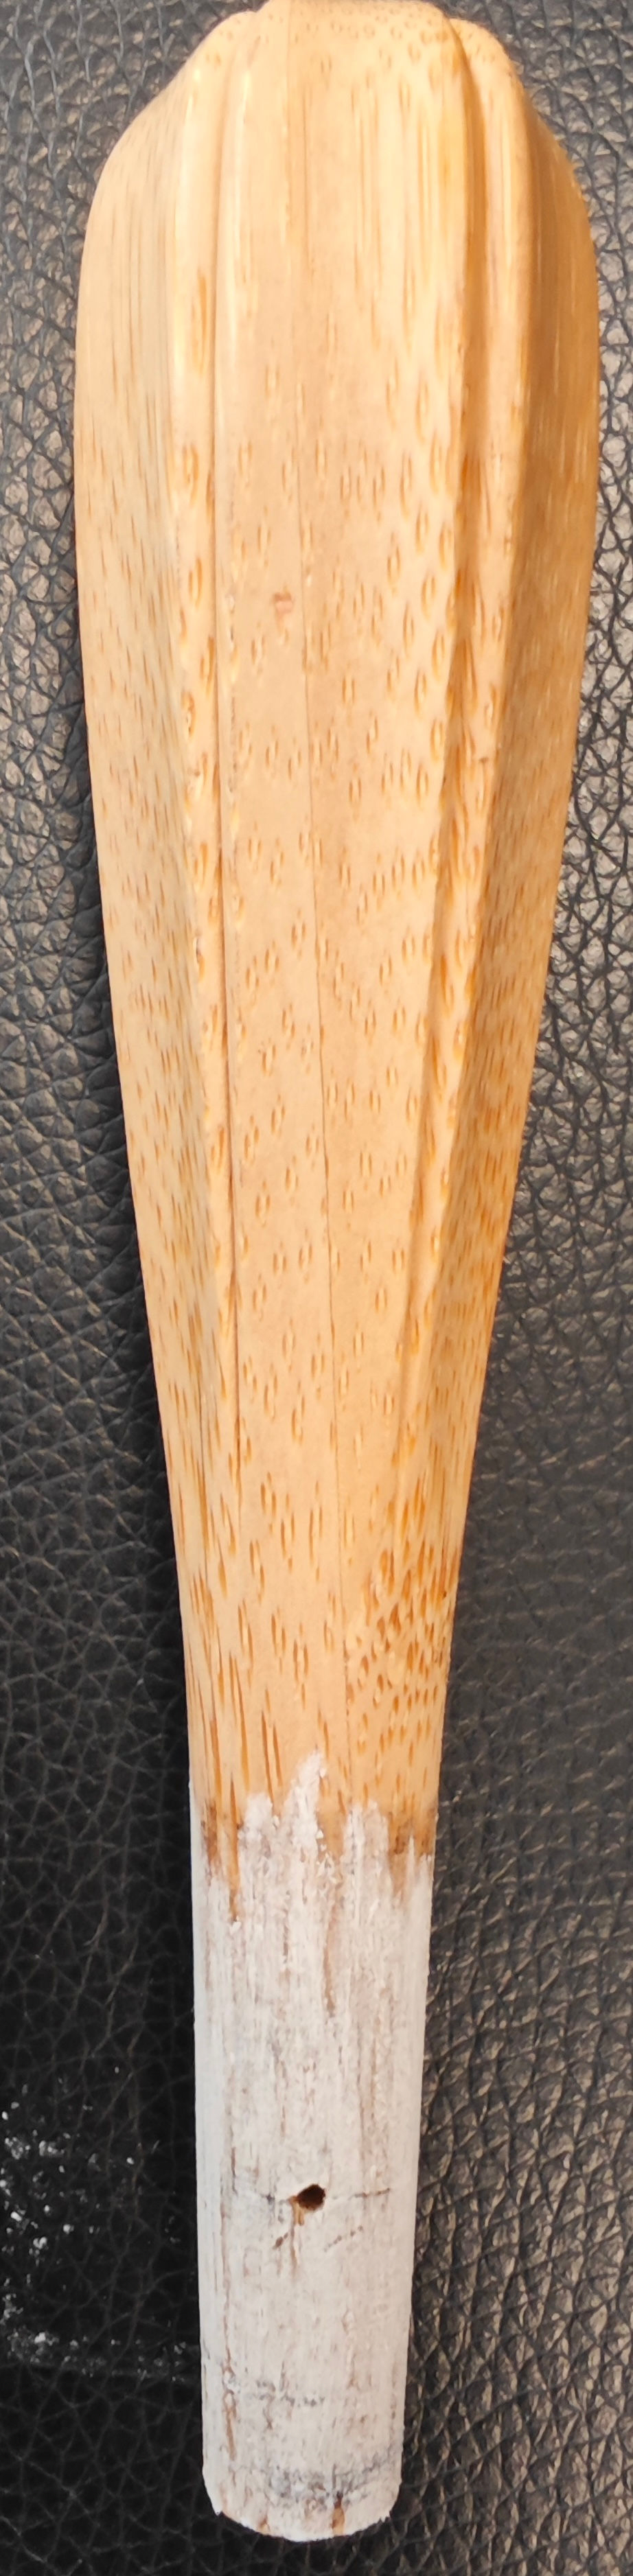
Before stringing a pipa, the tuning pegs should be checked to make sure they can be turned easily. Tuning pegs on a pipa are notoriously temperamental, with the slightest change in temperature or air quality causing immediate and potentially extreme effects. If tuning pegs are too moist from excessive humidity, they may become warped and slip easily, simply not fit in the hole properly, or get stuck in place. On the opposite end, if pegs are too dry from an overly arid climate, the pegs will get stuck in the holes and not be able to move fluidly, making it very hard to tune.
If pegs are too dry, the part around where the hole is should be lightly soaked in water. In very humid climates, keep the pipa in a room with a de-humidifier that has a light setting or someplace where the pegs can dry out a bit. In either case, a thin coating of chalk should be applied to the area around the string hole, and then placed back in the appropriate holes on the headstock, twisting it around until its snuggly in place and turns smoothy. If it is a challenge to turn, the peg may be pushed in too tightly, or more work is needed to be done to it in the above manner.
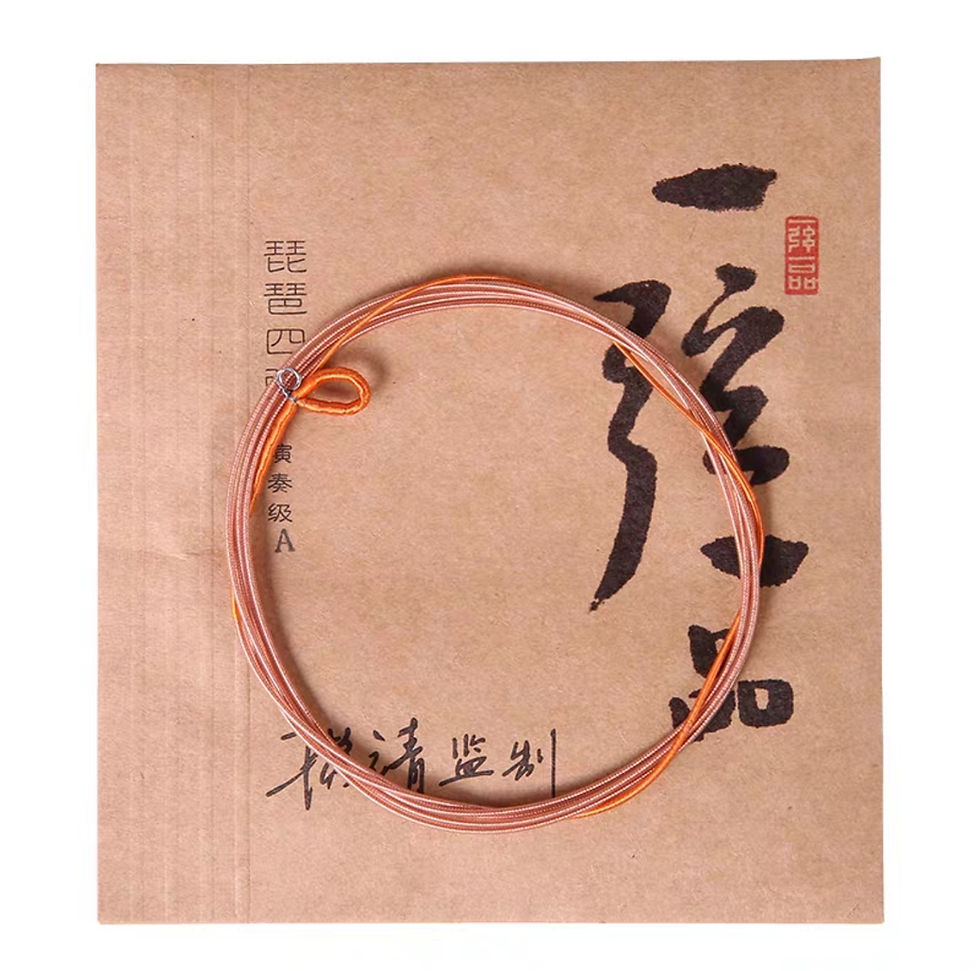
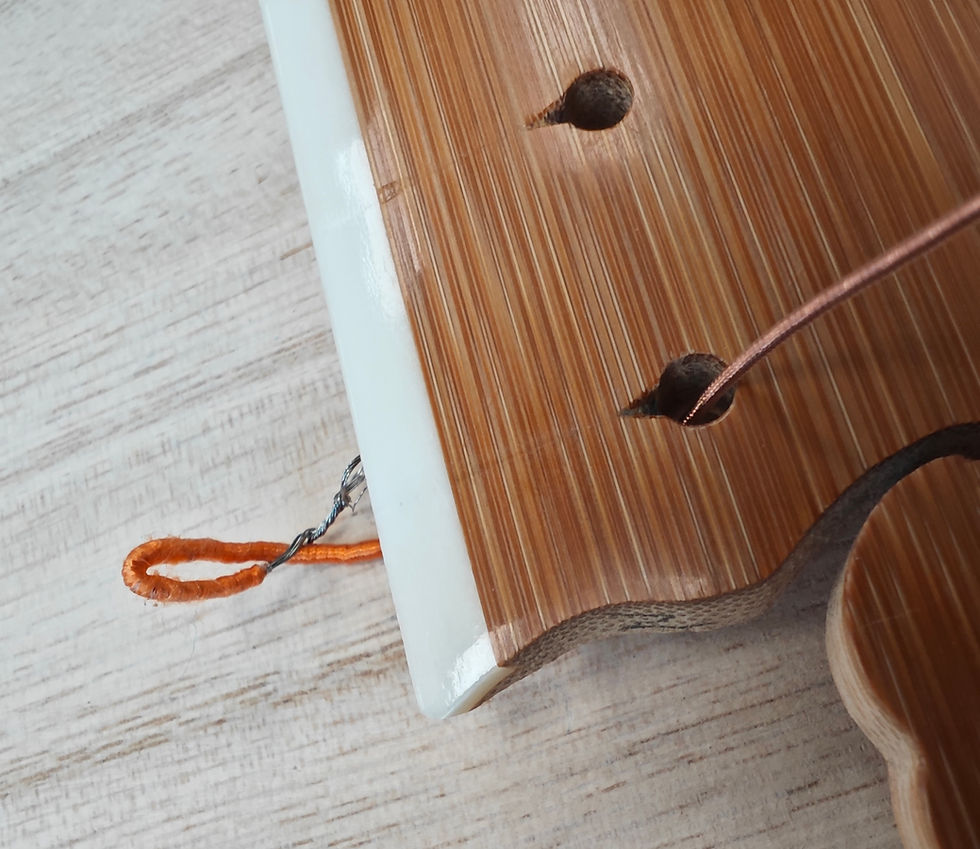
Unwrapping the strings, the bottom end of each string will be wrapped in a loop shape, with the top simply ending. Starting with the fourth string, the loop part of the string will can be pushed into the top side of the bridge hole closest to the right-hand side of the pipa.
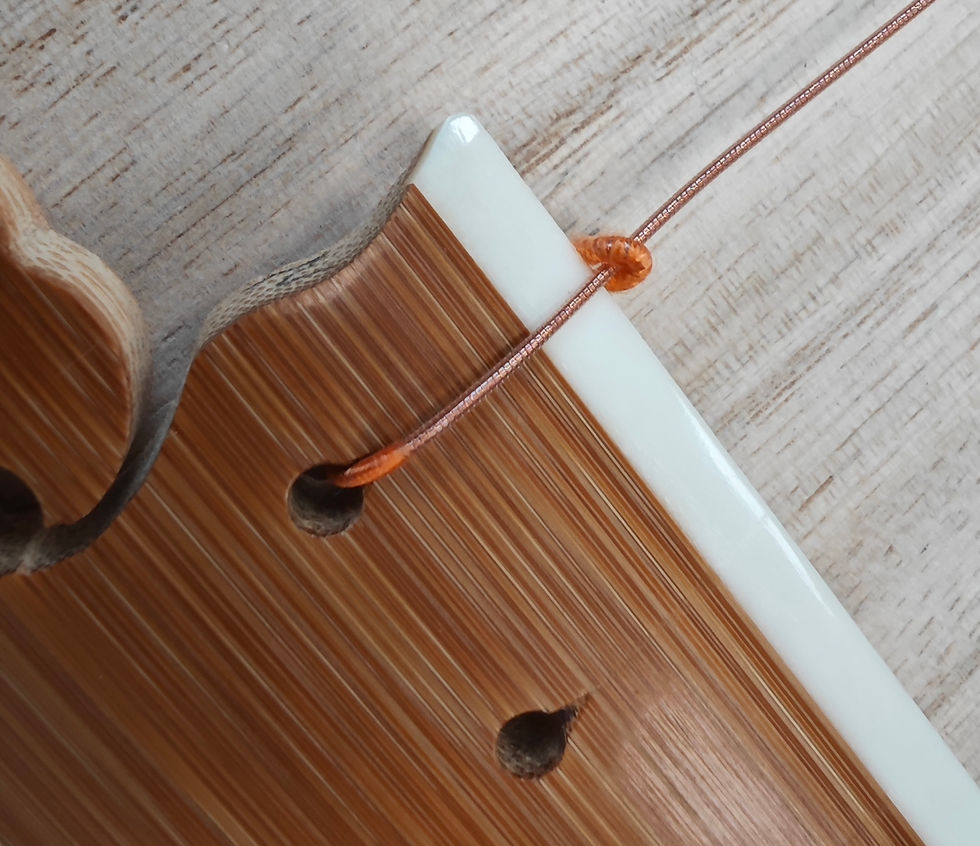
Although the end of a string can be pushed from the bottom up, the bridge is very close to the sound board making it very tedious for the string to move efficiently. It is easier to squeeze the loop end together and slightly bend it at the joint to look like an L, and with the bottom of the L facing up toward the head stock, push it through until the bottom of the L is now facing the bridge.
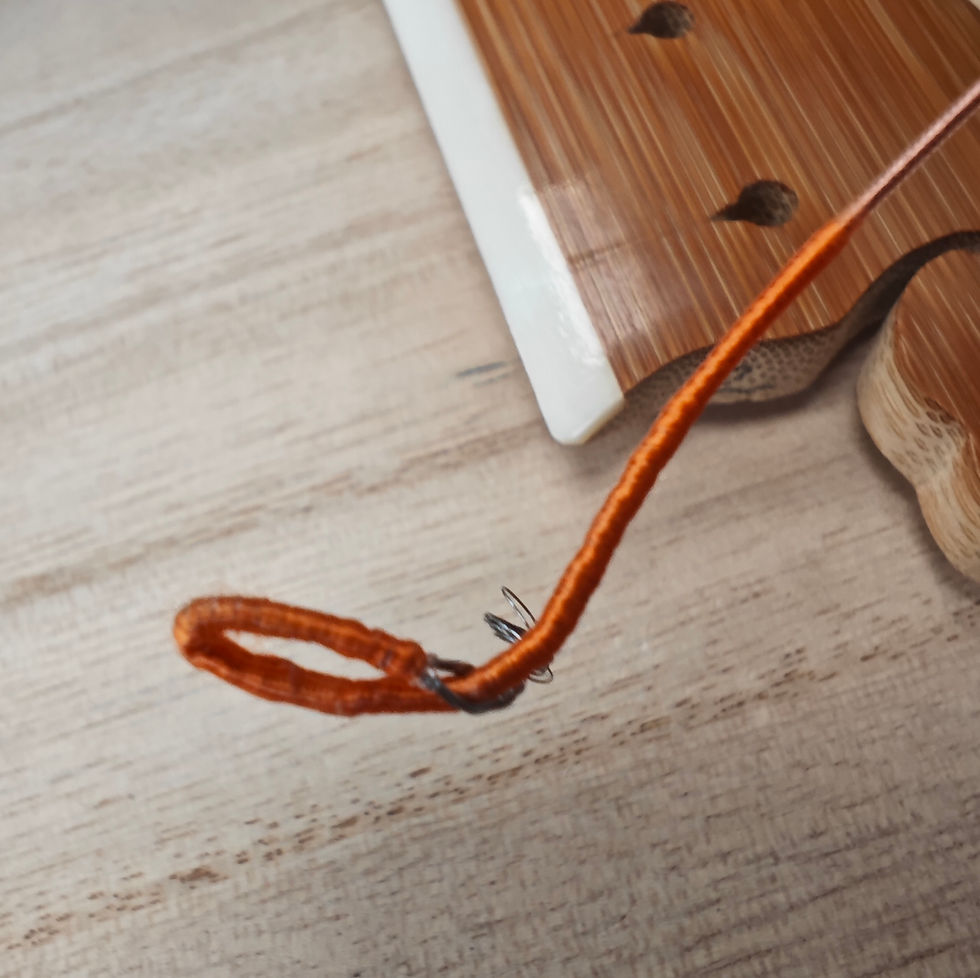
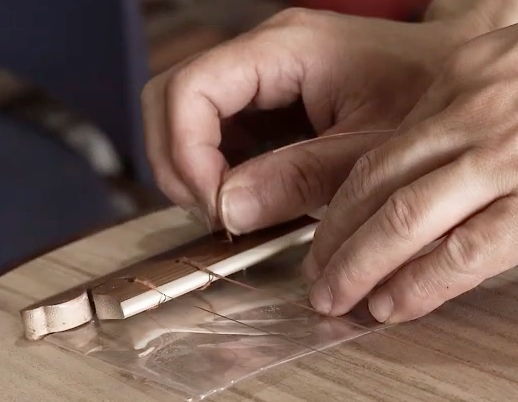
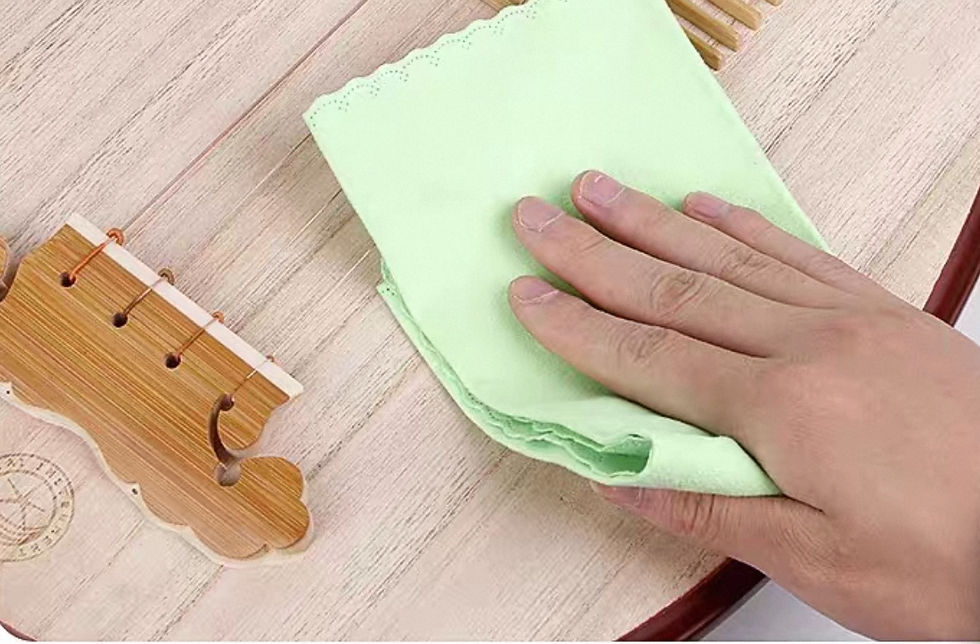
If it is too difficult, small needle nose pliers or something similar might be used to gently pull it. Additionally, some players put a thin layer of plastic, paper, or cloth under the bridge before stringing it to avoid scratching the sound board.
In any case, the loop end should remain under the bridge. It may be tempting to thread the other end of the string through the top, as it is easier. However, as the string is already bending being wrapped around the hole of the bridge, having the loop on top will slightly bend it further, straining the tension and causing it to break more easily.
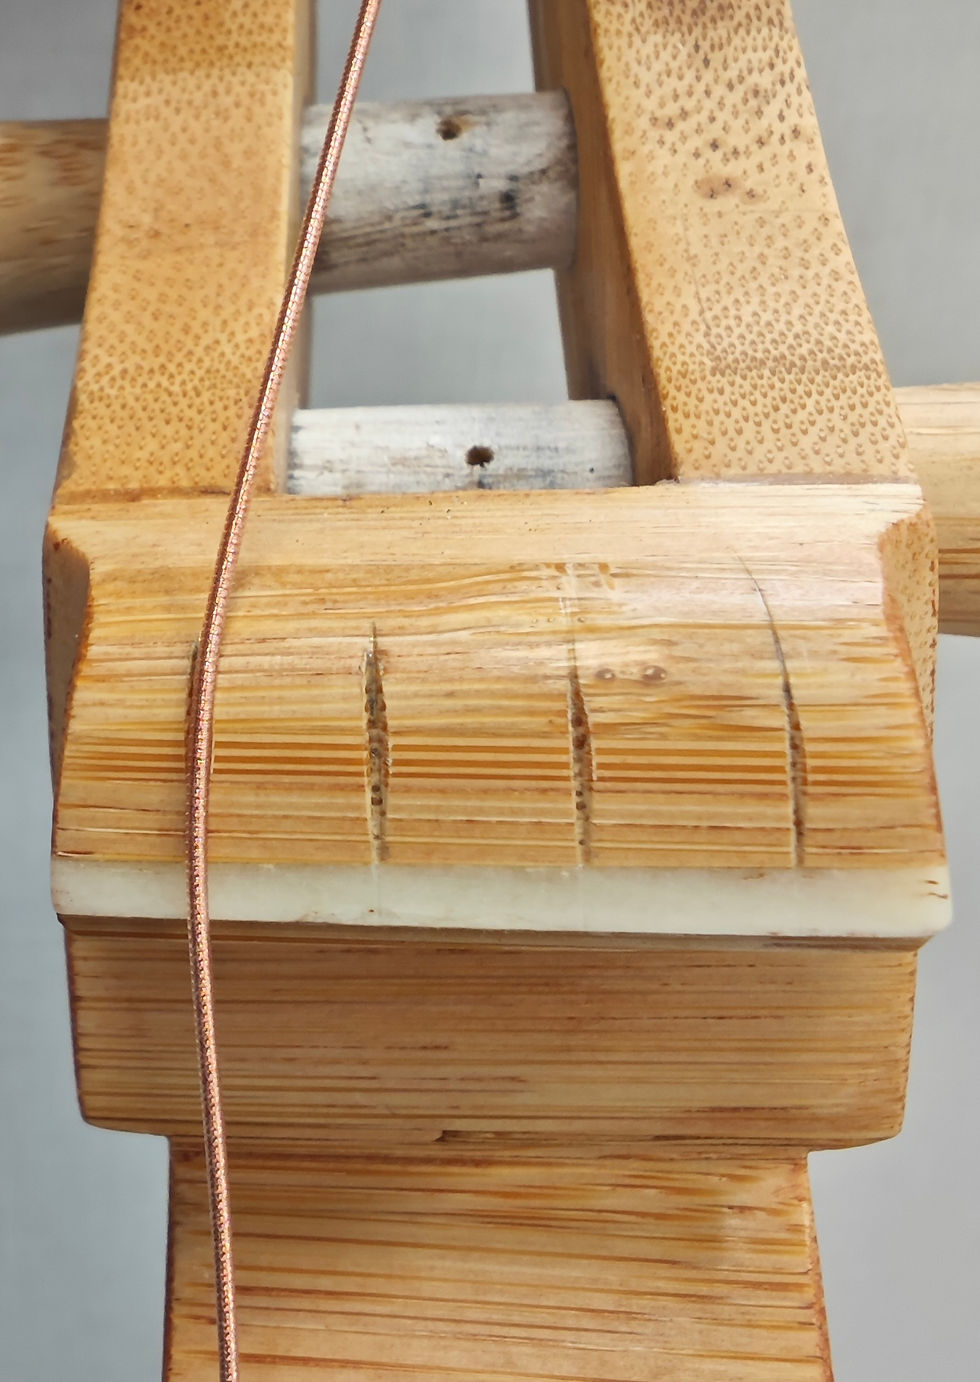
Once the loop is in place under the bridge, take the other end of the string, thread it though the loop, pulling the loop snug against the bridge, and continue to pull the string up to the head stock, laying it in the farthest right-hand notch and threading it through the topmost tuning peg.
The most common way to thread the string through the peg is to push it through the hole so about half a cm of the string is sticking out through the other side. Then, turn the peg clockwise (or towards the back of the pipa not the front), crossing the string over itself in an X shape twice, and continue slowly until the string is in taught and in tune, with the fourth string being tuned to A2, the third string to D3, the second string to E3, the first string to A4.
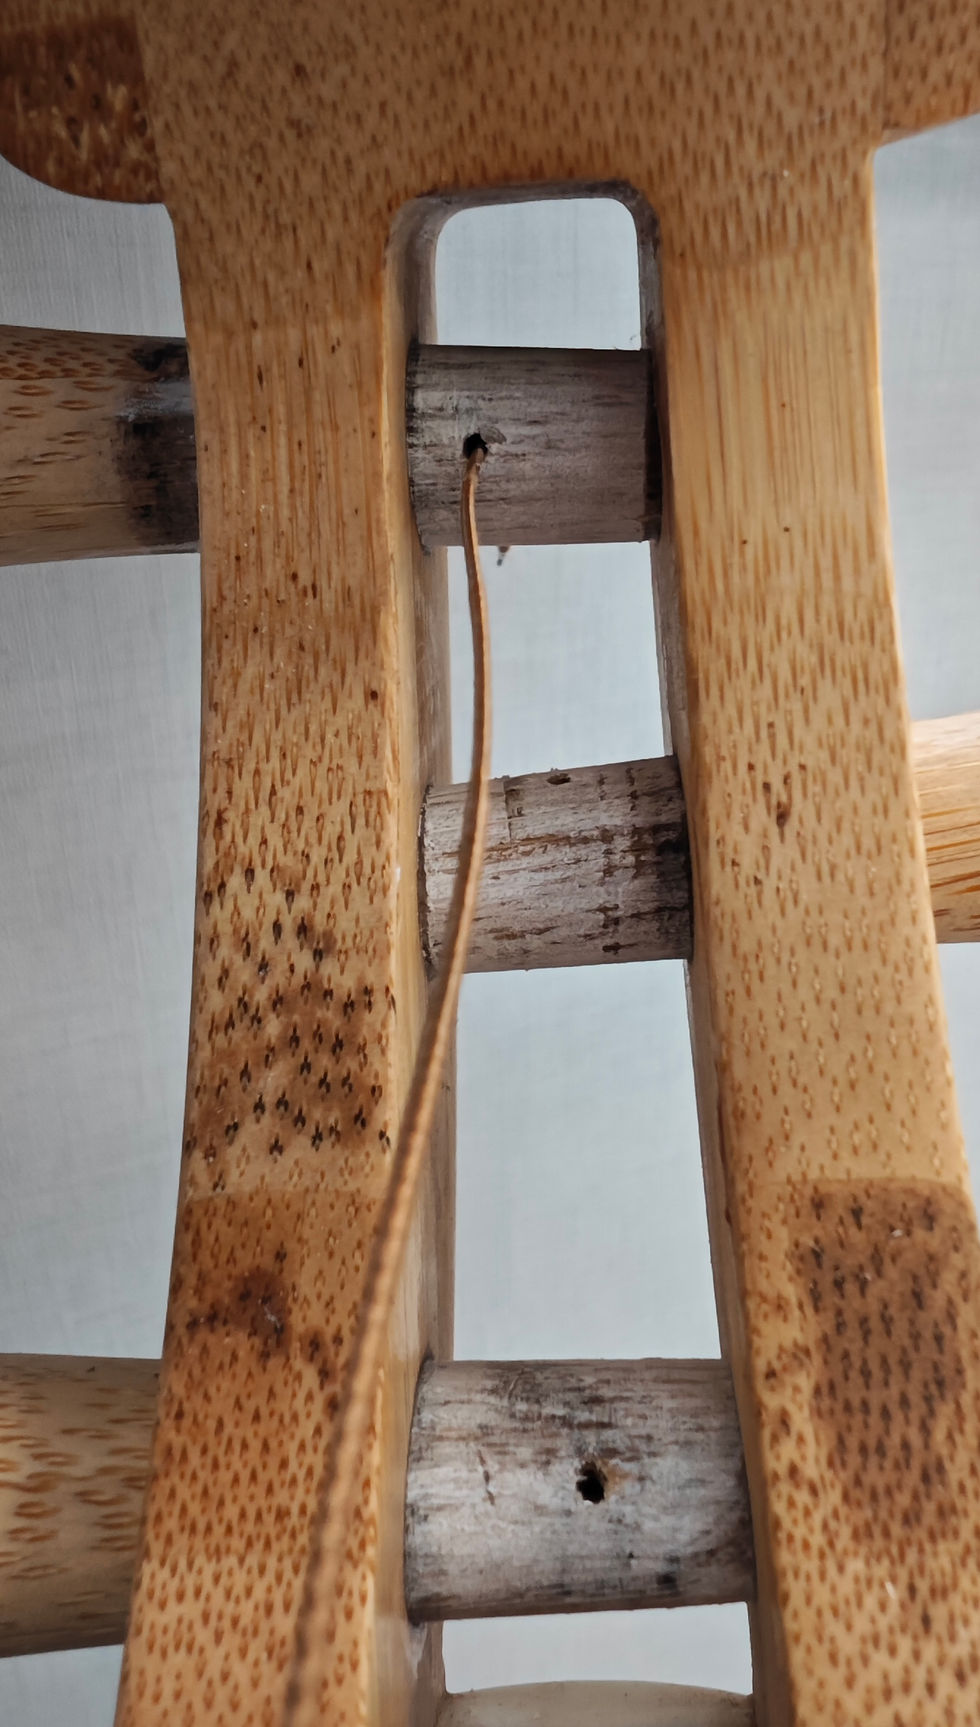
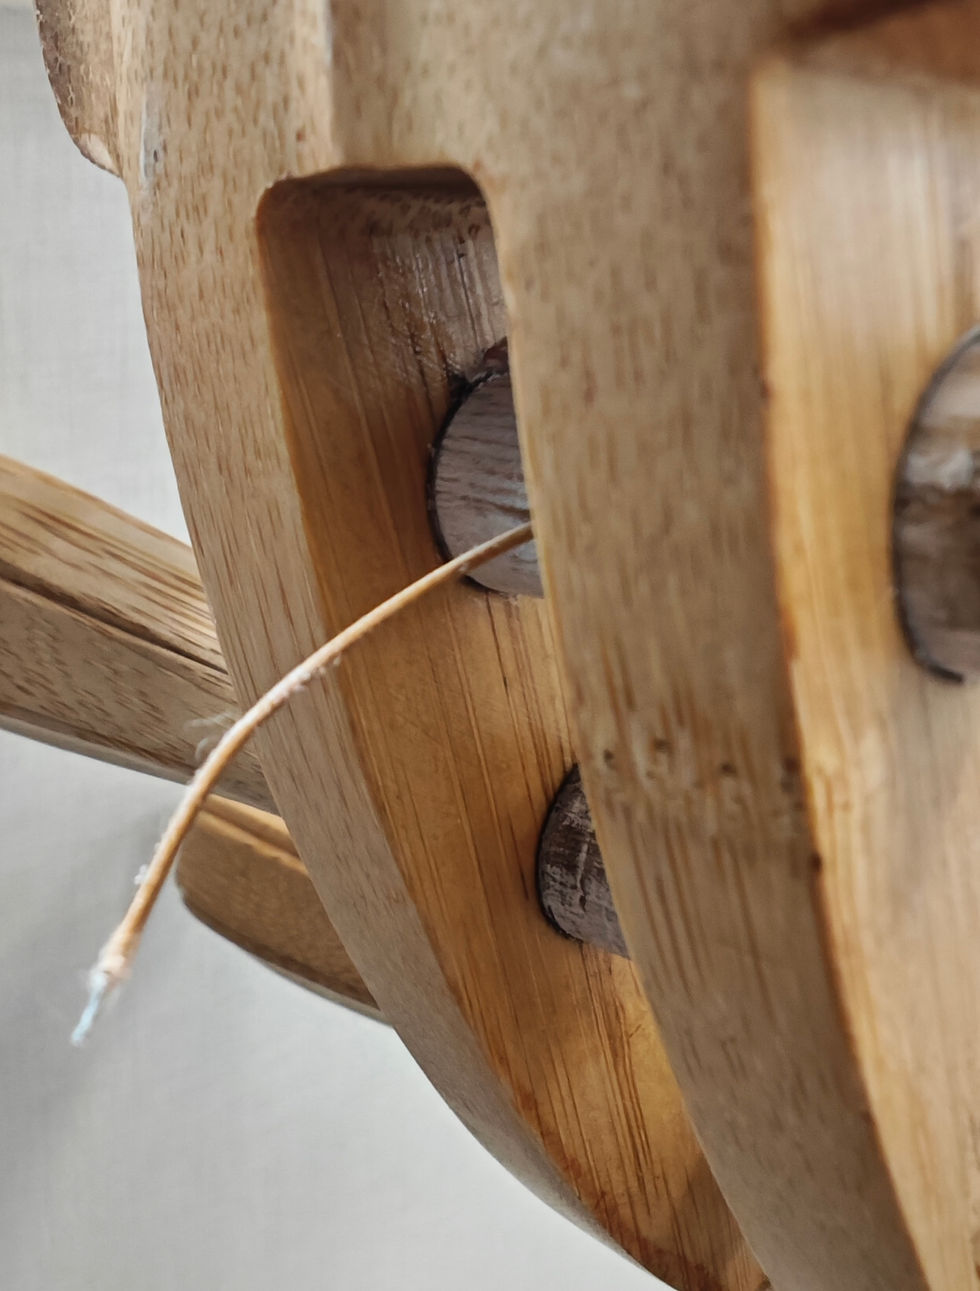
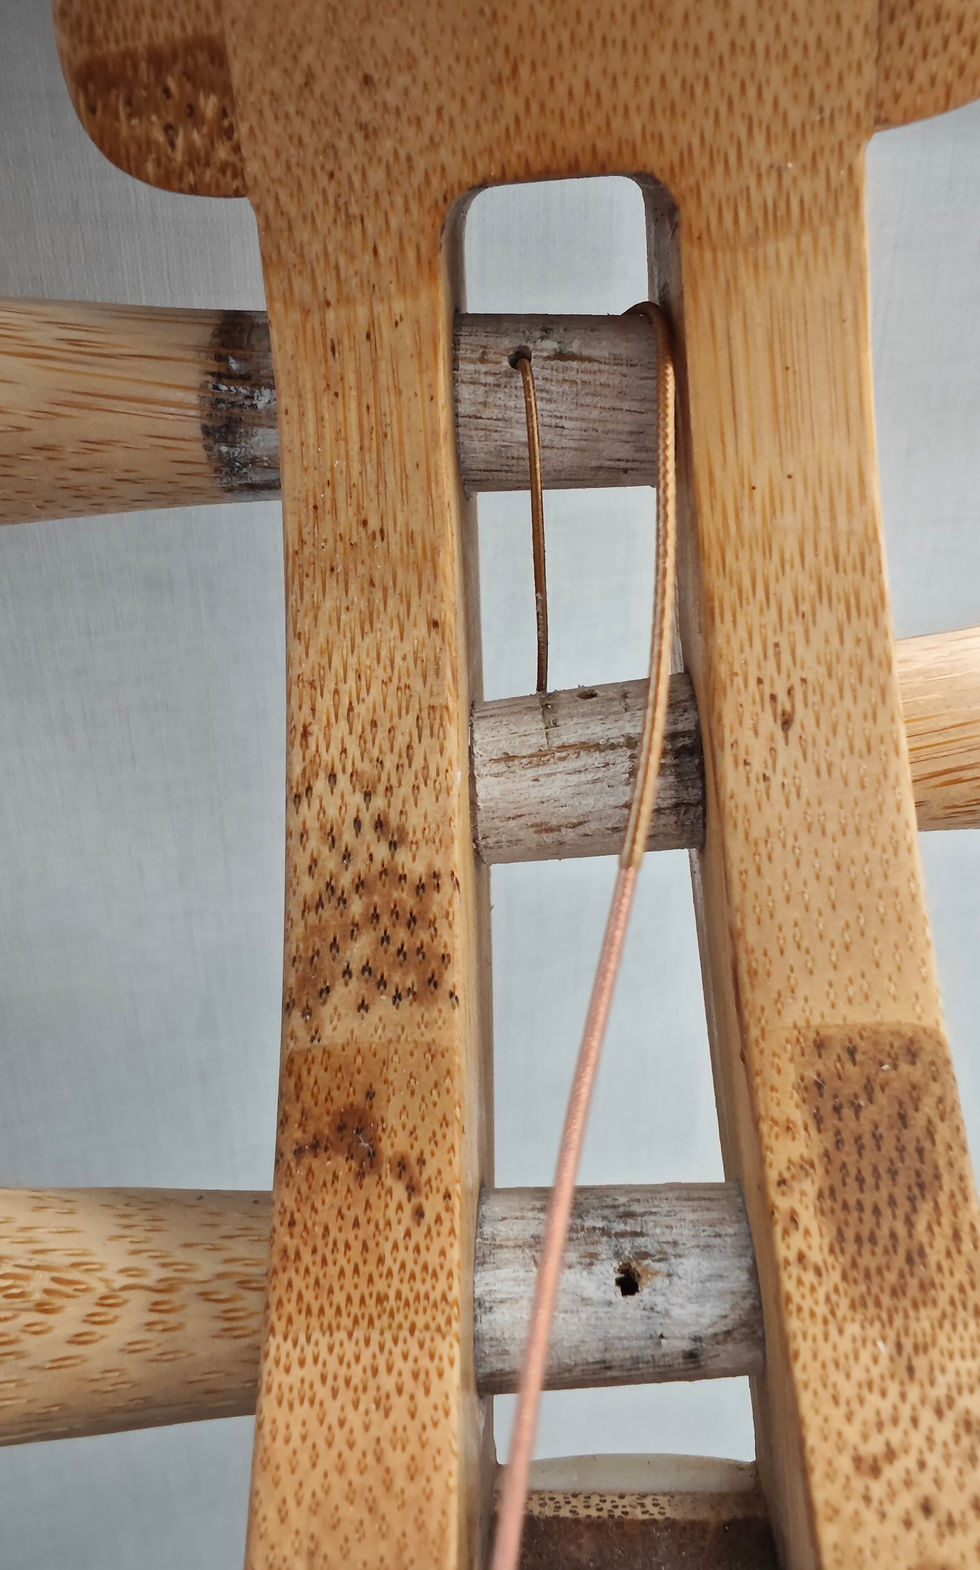
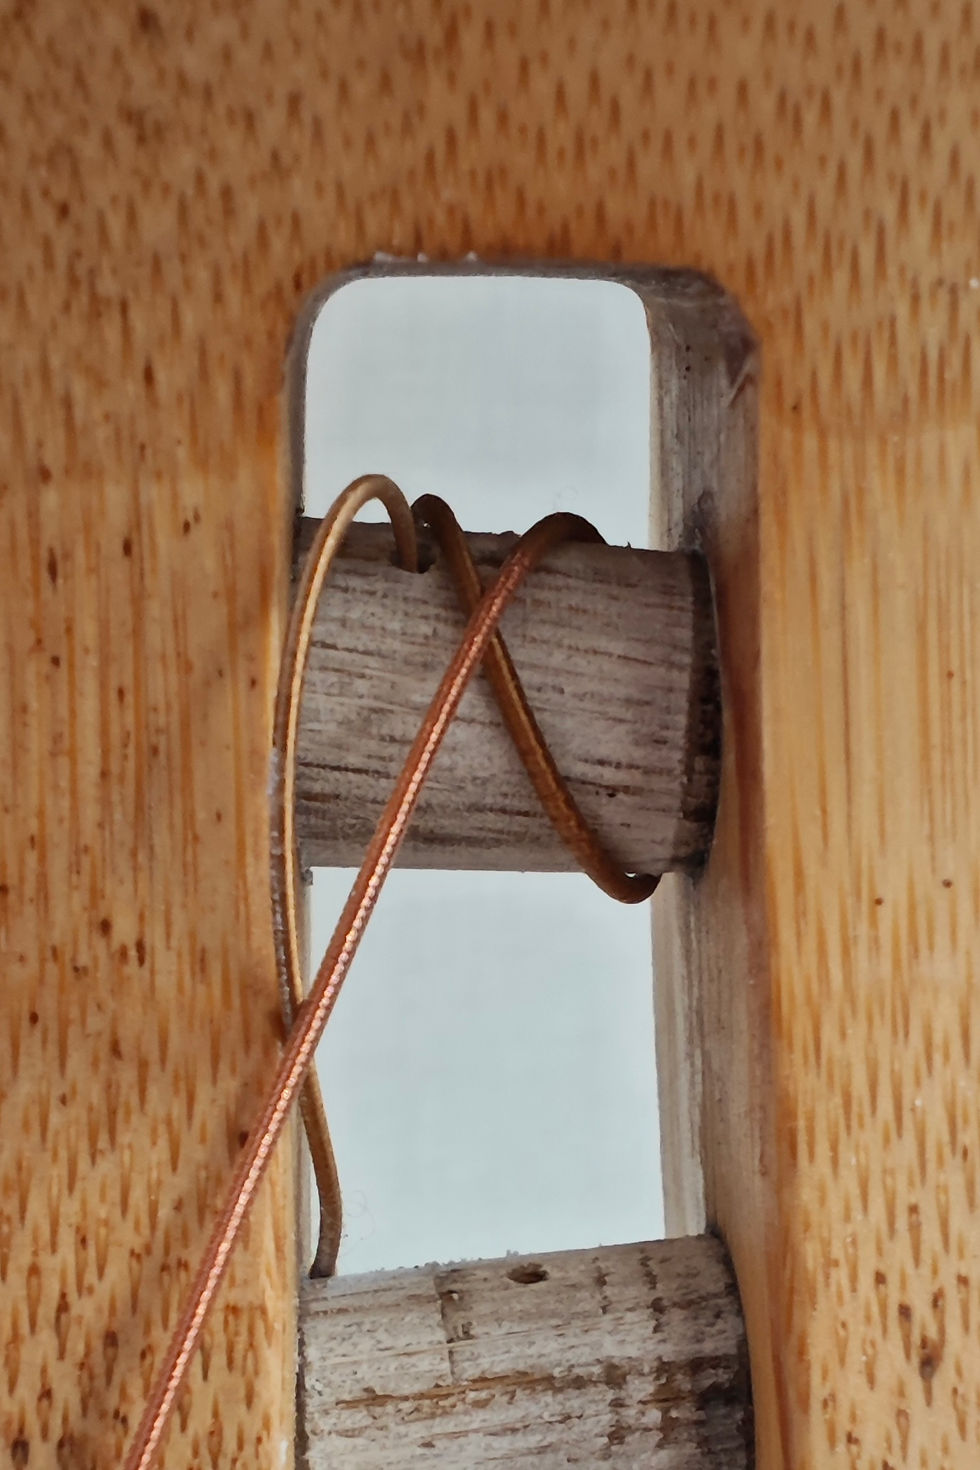
Some players thread the string while the pegs are in the headstock, while some prefer to remove the peg, running the string through the inside of the corresponding hole for the tuning peg. The string is then threaded and wrapped around the peg while its outside the headstock, and then pulled back through the hole with the peg still attached.
Another lesser used method, is to take a piece of thin fiber string (not a pipa string) and cut it about 3-5 cm long. Loop it through each tuning peg, tying it in a tight, small knock. Strings can then be tied to the loops and tuned. This can sometimes make the process of replacing a string faster, help with tuning, and keep from the strings from slipping in the tuning peg. However, it can be difficult to untie the strings, especially if they break during performance.
Regardless of the desired method, continue with each string being pushed through the next whole up on the bridge, and the next tuning peg down on the head stock. The one exception is the first string, which does not need to be threaded through a hole, but can simply slide into place.
If threaded directly into a peg, sometimes the strings will “slip”, causing the string to suddenly fall out of tune and may take a few attempts until it can be tuned properly. This is very common when first putting on new strings.
New strings need time to stretch after they are first strung. Depending on the strings and the condition of the instrument, it may take a few days or sometimes even up to a week for the instrument to consistently stay in tune. Be patient during this period and re-tune the pipa with care, as a string can be broken very easily if the pegs are turned too quickly.
If there is a point where the string will not stay in tune, push the tuning peg more firmly into the hole, or check the condition of the tuning pegs as mentioned above. Unfortunately, with some student and lower quality pipas, the instruments will rarely, if ever, stay in tune. Though instruments are always expensive, sometimes it is worth investing in even the most basic of intermediate models to avoid poorly made instruments that can severely effect playability.


Comments