
Getting Started: Nails and Posture

Updated: Aug 29
When starting any instrument, the most important beginning step is knowing what you need to play the instrument, and posture. Like a classical guitar or banjo, the pipa is a plucked instrument, and like most plucked instruments that use steel strings, artificial nails are used on one hand.
Nails and Tape
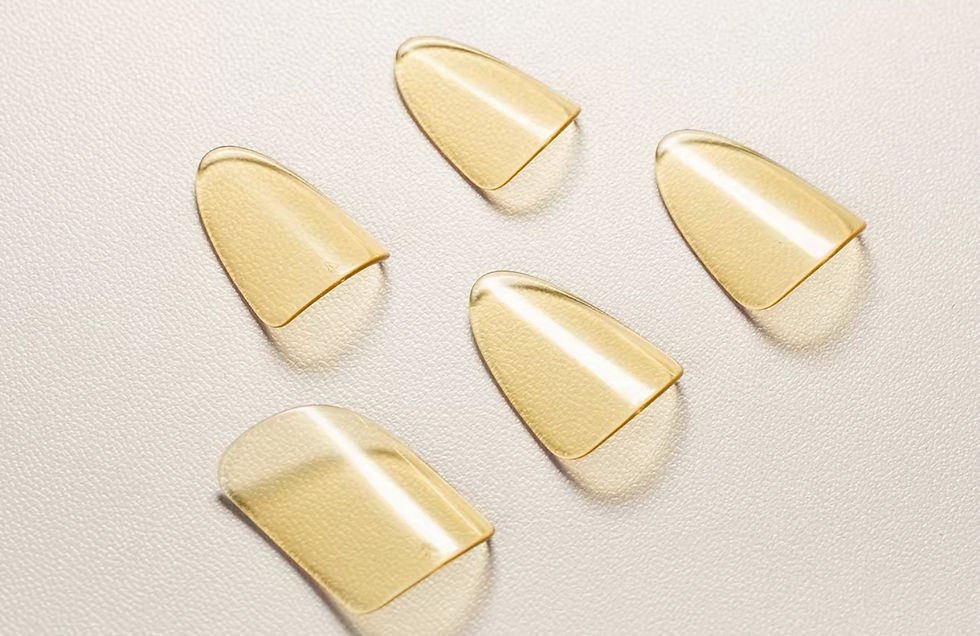
Traditionally, pipa players used silk strings, which were softer and therefore easier for the performer to actually use their own nails. Today, steel strings are used which can easily crack and damage natural nails, so artificial plastic nails are used instead. Using pipa nails is a more or less straightforward process. In short, all a player needs to do is cut a strip of tape, place the artificial nail over the corresponding real nail, and wrap the tape around the finger. Indeed this is quite simple, but certain tricks of the trade, so to speak, can help with some smaller, beginner issues.
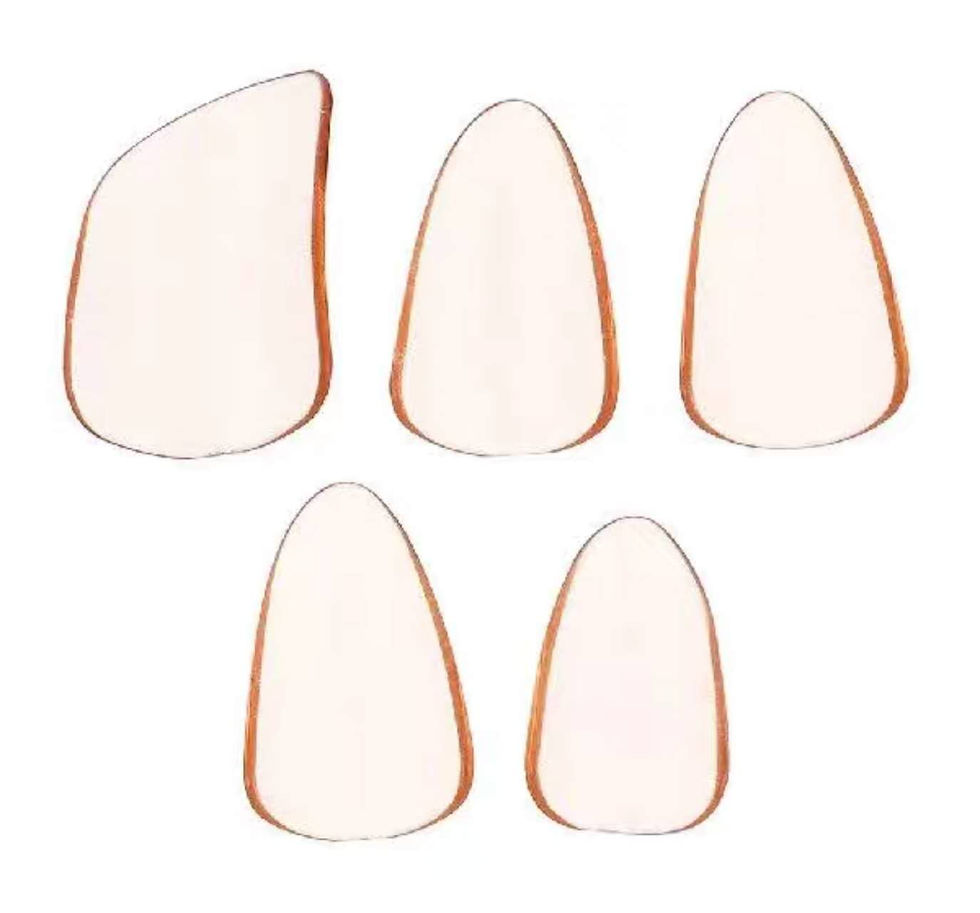
First, it is best to lay out the nails as shown in the picture above. Although everyone has different finger sizes, a quality set of pipa nails will still approximate the size of each finger, and usually will fit better for a given finger.
When buying nails, there are near limitless options, many of which are poor quality. Though it would be hard to specify a “good brand”, as every player would have their own preference, there are certain things to avoid.
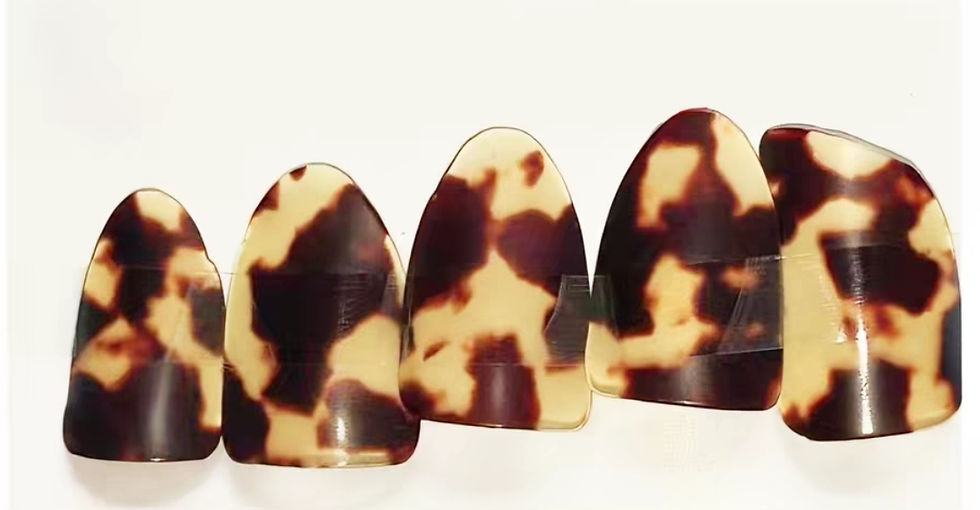
Nails that come in a special print design or color that isn’t mostly transparent, may wear down easily, and the design/coloring will wear off onto the strings.
Nails that are too thin or flimsy, the tips will wear down quickly, crack, or somehow break. It will also be difficult to perform anything other than a very basic technique well.
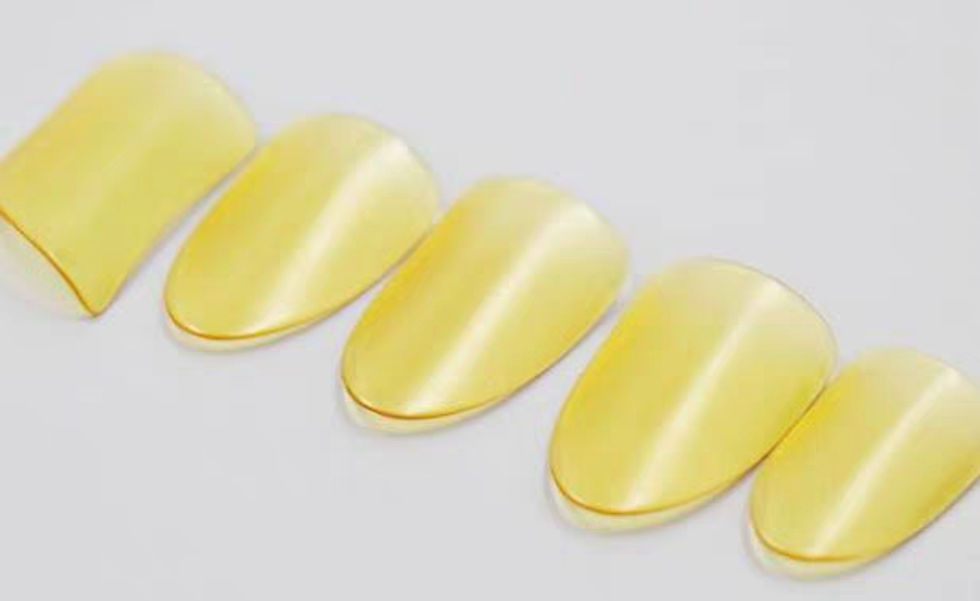
Nails like the picture below, are in fact, nails to play the guzheng and cannot be used for pipa.
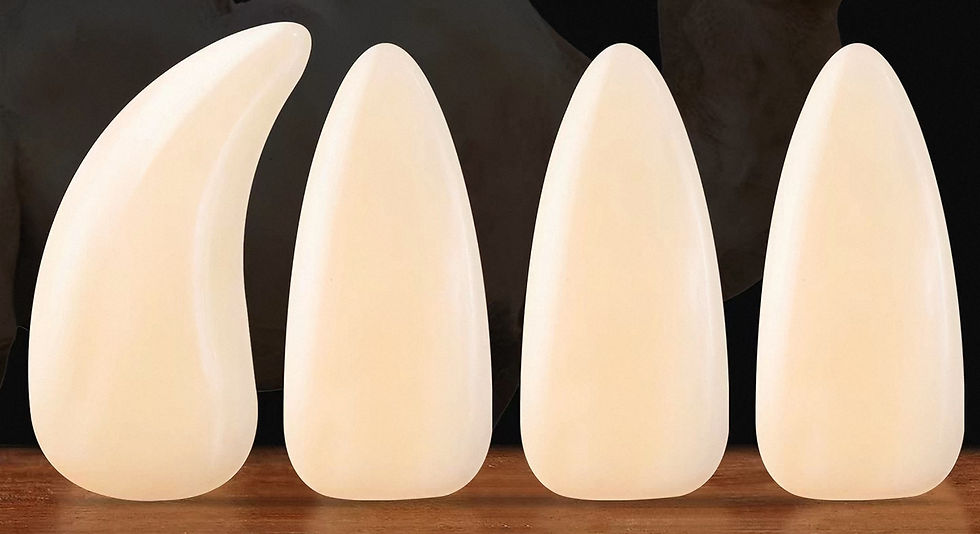
Good quality nails can last for years, and will wear very well no matter how much they are abused. It is well worth the investment, and unlike a violin bow, would cost no more than a Starbucks coffee.
The same could be said for pipa tape, which also comes in a wide variety of options. Most pipa tape, as shown below, especially ones that come in vibrant color, are often of very poor quality.
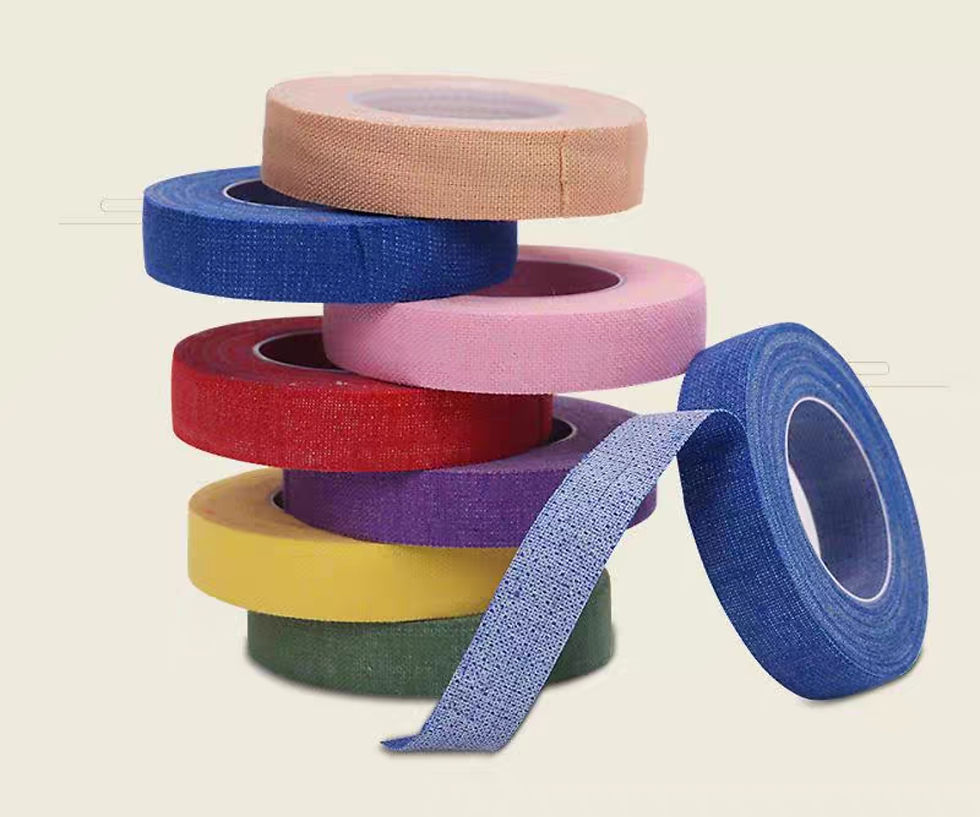
Any tape that looks like that should be avoided at all costs. The only positive thing it may have is that it is very adhesive and may last longer. However, that is because it is made with a glue that is very sticky and will often get all over the hands when cutting and applying the tape, and will mostly likely rub of on the strings while playing.
The glue is very tedious to get off, especially when on the body, and if it gets on the strings, it will not come off at all and might require the strings to be pre-maturely replaced. Besides the color, cheap tape can be easily identified by the way it warps and bows instead of staying as a stiff, role of tape.
Unfortunately, there doesn’t seem to be one particular brand or type of tape that checks all the boxes, but there are some that are better than others. If official pipa tape is not available, certain types of thinly cut medical tape will work.
The most important thing with tape for pipa nails is that the quality of the material is durable enough to be rubbed and not immediately or easily damaged or destroyed, and that the glue on the tape is not too sticky, but also adheres for more than a short period.
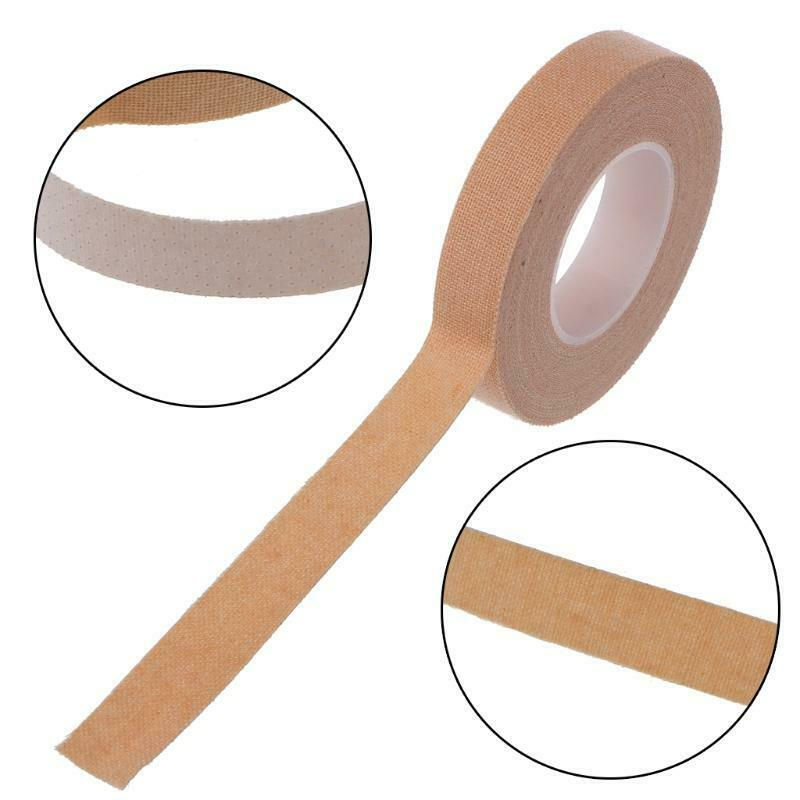
Typically, most pipa tape isn’t one use only, and can be used for a few uses at least (meaning taking it on and off). Once the ends of the tape start become loose or no longer adhere to itself, it’s time to replace the tape. Excessive sweating or rough movement with the tape can cause it to wear out faster, but usually the only problem will be that it will no longer stick at the end and get in the way during performance.
Unlike for nearly all plucked string instruments, pipa nails are taped above the real nails on a hand, rather than on the bottom of the finger. Though everyone has different finger sizes and preferences, it is best to apply the nails at approximately this length:
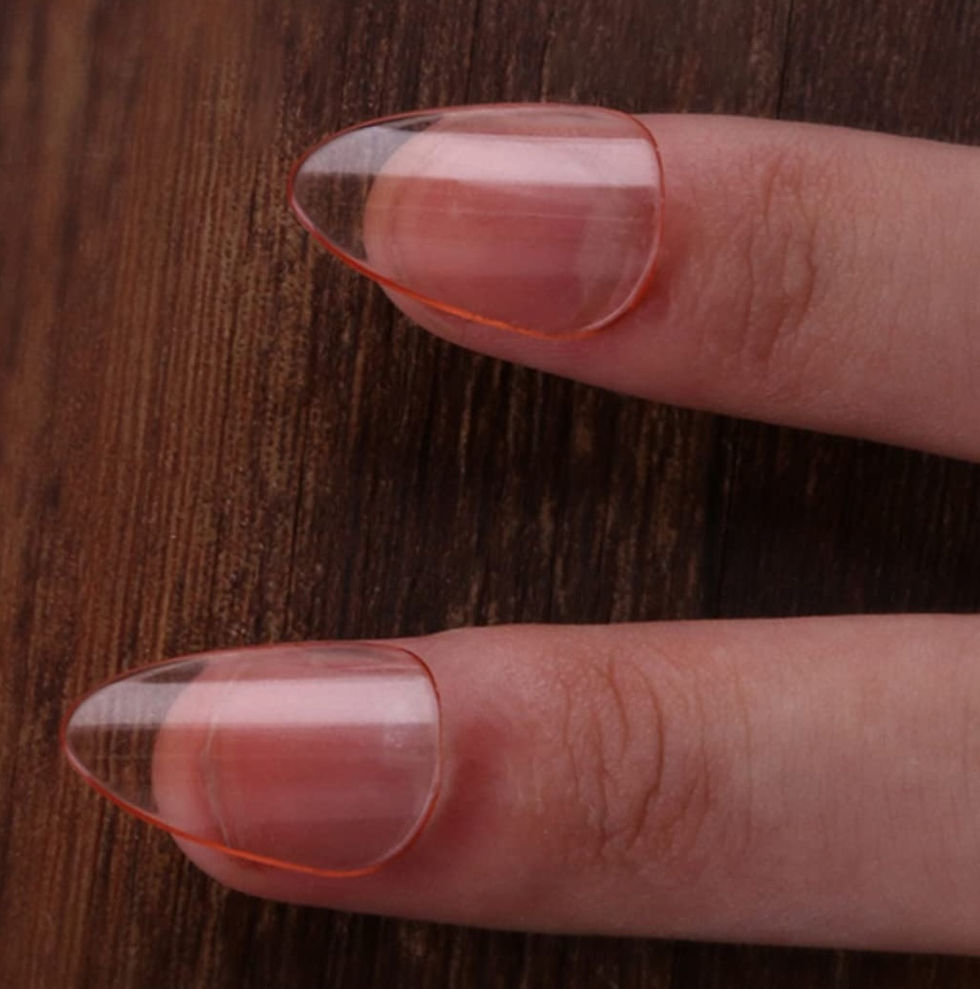
Some players may prefer it shorter, with the tip of the artificial nail just poking over the edge of the real nail, but it will depend on each person. Regardless of length, the nail should be centered.
The thumb is unique in that the nail is not taped to the top like the other nails, but to the side, so the left edge of the nail should align with the side of the thumb.
Most pipa players will simply cut a strip of tape, apply it to the top edge of the nail, place the nail on the finger, then wrap it around. That works well, however, during hot periods or situations when hands can get sweaty, the nails might get slippery as sweat gathers under them. To avoid too much slipping, tape can be applied to one edge of the bottom of the nail, wrapped around the opposite edge, taped over the top, and then wrapped around the finger.
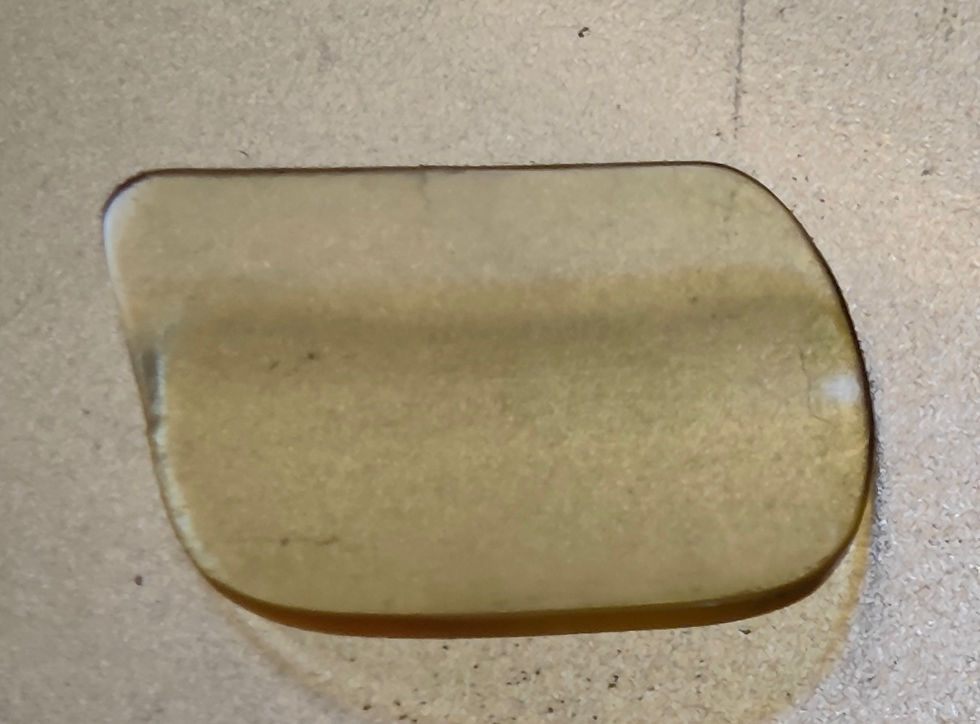
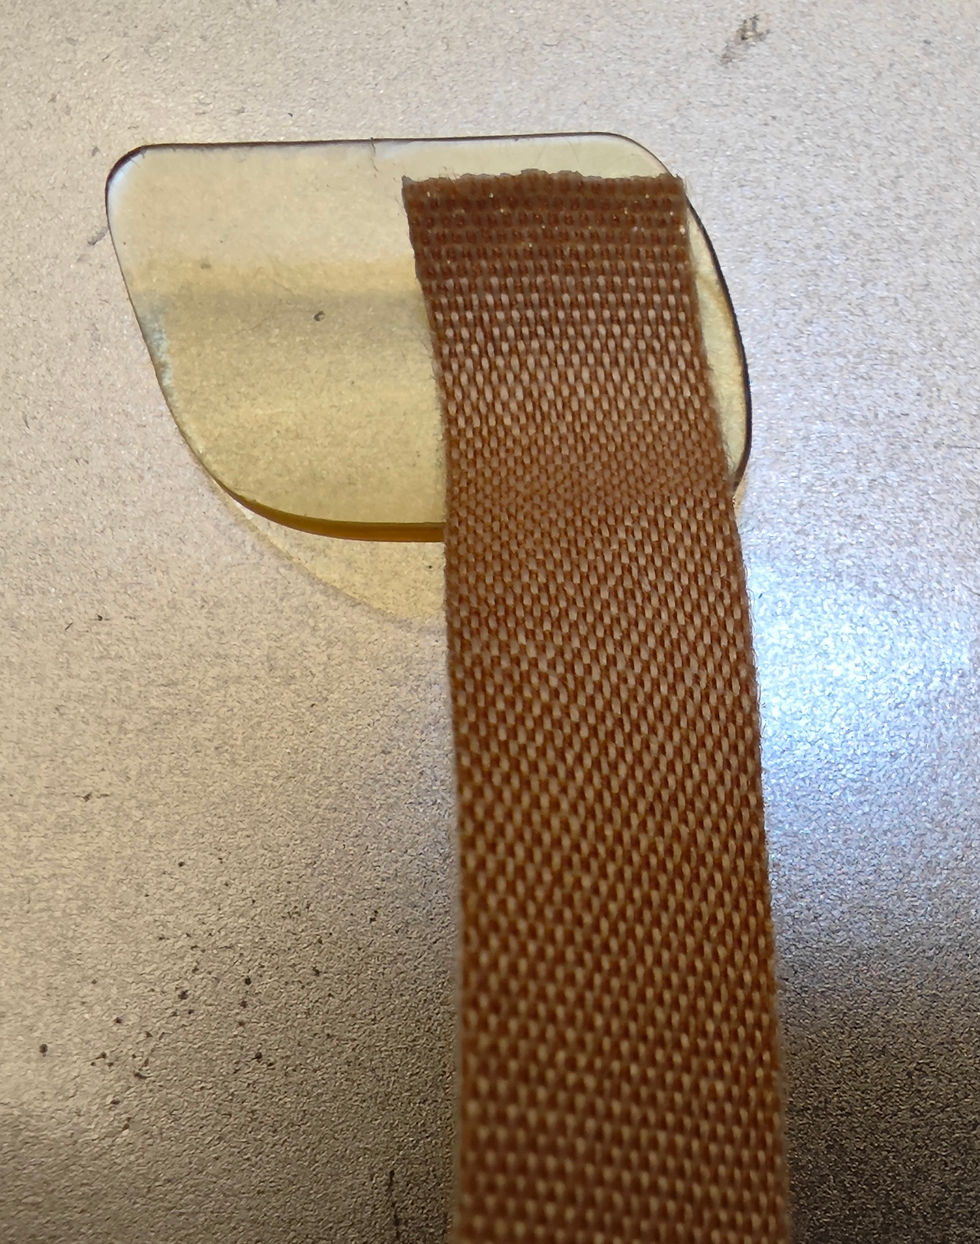
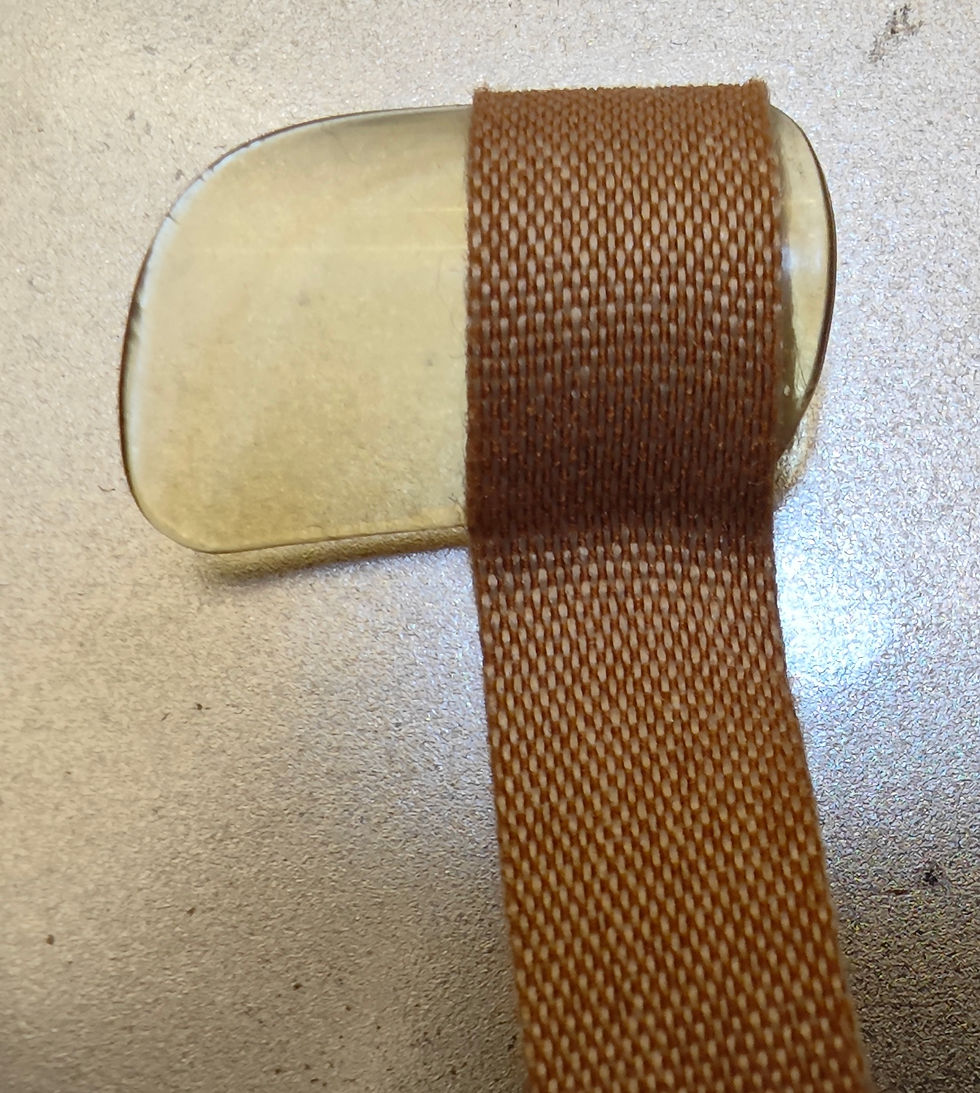
There is no one appropriate length of tape, it really depends on the size of the finger. However, the nail needs to be snug and tight against the finger as if it were a real nail, so enough tape needs to be used to make it tight enough, but not too tight where it cuts off circulation. It is also best if the end of the tape that gets wrapped around finger ends on top of the finger. This will keep it from being rubbed against the strings and allow the tape to last longer, even if it becomes slightly less adhesive.
Too much tape will easily rub against the strings and damage the tape and cause it to be replaced faster, as well as get glue on the strings. After some trial and error, it should become easier to know what amount is right. Any damage to the tape or any feeling other than snug and tight, means it’s time to replace the tape.
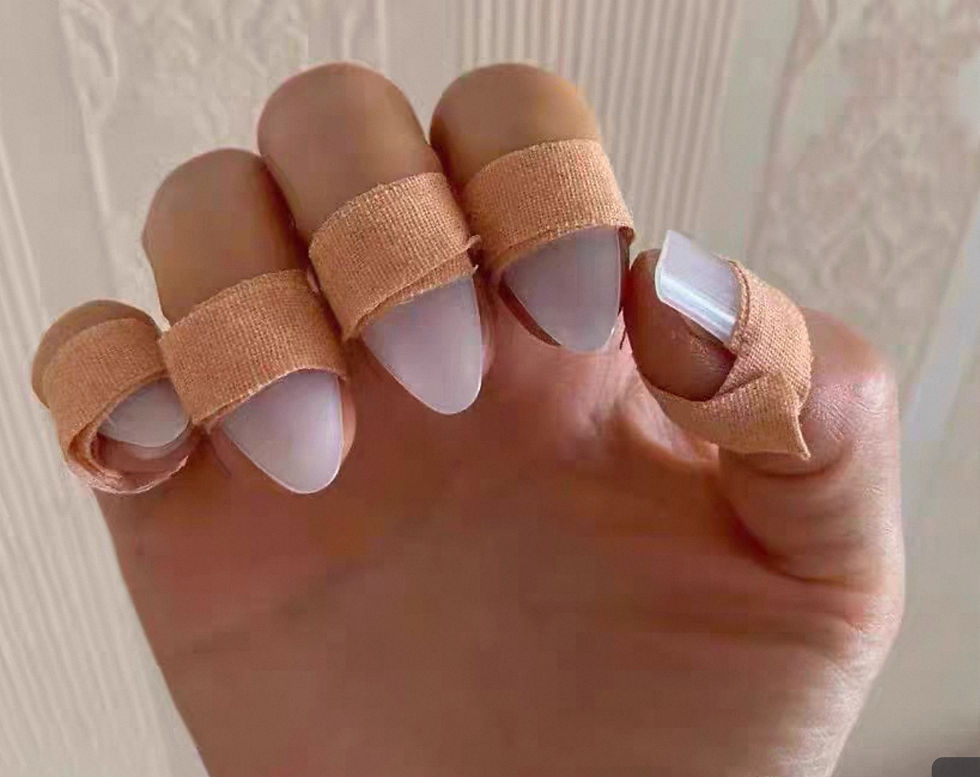
The above photo is a good example of nails not well taped. Looking at the pinky finger, there is far too much tape being used, bulging off the finger, making it easy to rub against the strings when playing. Additionally, the tape is too loose and will further get caught on the strings.
Several issues can be seen with the thumb. There is not enough tape, allowing the tape end to come loose easily, in addition to the tape ending on the side of the thumb, allowing it to come loose even easier, and will get caught on the strings when playing.
The placement of the nails also looks half-hazard, especially with the thumb nail being too centered, as it should be placed more to the left side. This nail placement will likely lead to an uneven sound, create strange sounds, get caught on the strings, all of which will frustrate the player.
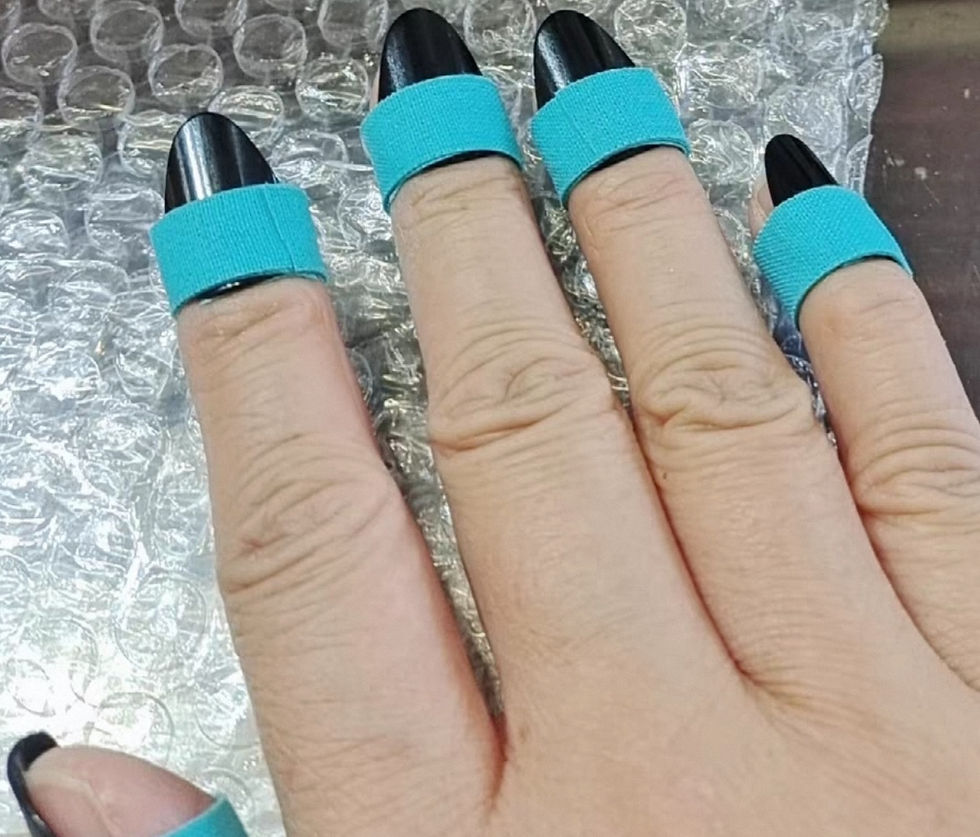
Above is a better example of how to properly position the tape and nails. Note that the nails are centered, at an even length. The thumb nail is positioned properly to the side, and the tape seems to be an appropriate amount, with the tape ending at the top of the finger.
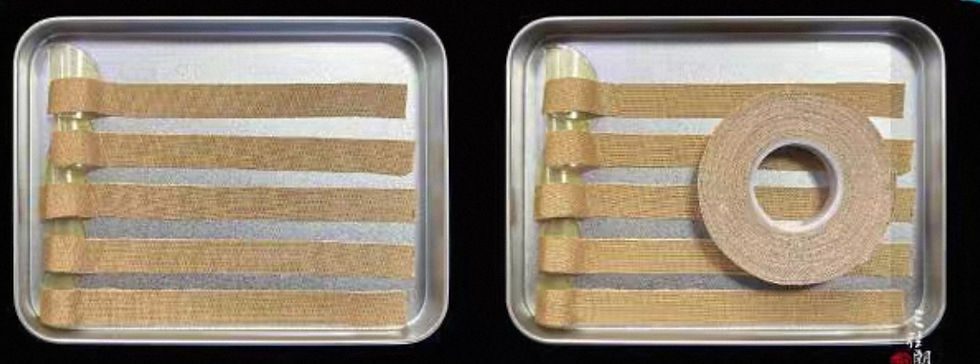
Nails can be stored with tape still on them for re-use. Most players tape them to a plastic card in strips, one that often comes with nails, or some use the inside of the nail container, or just simply wrap the tape around the nail.
Posture
Like every instrument, correct posture is very important. Pipa is a unique instrument in that it is played straight up and down vertically on the lap. Though eventually it will become second nature to play this way, in the beginning, in might be very uncomfortable and easily lead to back and neck strain (especially for those who are tall), if the instrument is not held properly, as well as effect right hand technique

Sitting with a vertical back and legs straight out and together, the back of the pipa is placed vertically, directly in front of the stomach and chest, with the left hand holding it from the left side, usually balanced in place with the left thumb anchoring it. The front of the pipa is then turned slight inward to the right hand side so that it is at a slight angle. It should not lean back against you in any way.

Though the instrument can be held at a slight angle like the above picture, it should still remain upright. Depending on clothing, the bottom, especially with newer instruments, can slide forward, causing the instrument to pitch backways. This should be avoided, as it will severely affect playability in both hands. If the pipa is sliding when playing, many players put a cloth or a small rubber like mat on the legs under the pipa to keep it from sliding.
It will feel very awkward at first to hold an instrument in this way, but over time it should feel more like the instrument is floating between where its seating on the legs, and the thumb of the left hand.
One of the most important things to remember when practicing is sitting with a straight back, as prolonged practice, especially for those who are tall, will naturally lend itself to hunching over and craning the neck to see the frets. This can lead to strain, and over time, effect posture to the point of the player leaning over in a strange way to play the instrument.
Finally, although the pipa is a traditional instrument, is can, and has been, used to perform a wide variety of music and styles. However, there are still certain methods of playing and techniques that are standard.

Though it is very common for a pipa to be amplified, with even an electric pipa (an equivalent to an electric guitar) existing, this method of playing defeats the purpose of playing the pipa entirely as it does not represent the voice or unique stylistic techniques of a pipa, and is not at all recommended.
For a more visual tutorial on correct posture and nails, have a look at in in-depth tutorial by pipa instructor, Carrie Wang.

Comments